How to install Cockpit CMS on NGINX and Ubuntu 20.04
What is Cockpit CMS?
Cockpit CMS is an API only, or headless CMS, developed as an open source project. Headless CMS are becoming more and more popular as they are more lighweight then traditional CMS like Wordpress or Drupal. A headless CMS does not come with a frontend, it provides the data via an API, mostly RESTful or GraphQL.
What are the benefits of a headless CMS?
The downside of a headless CMS is, that you will need to implement some kind of a frontend. Some headless CMS already come with a predefined frontend (take this blog using Ghost CMS as an example). Also the editing of the data is sometimes a little edgy, as you do edit your data purely as what it is: data. This makes it sometimes hard for the editor as they do not right away see there content how it will look like on the frontend.
On the other hand with a headless CMS you will million times faster than with a CMS having a frontend. Just look at how slow Wordpress is (and how blazing fast this website is, even though it is hosted on a RPi). One other big benefit is, that you can distribute your content to multiple devices. This means you edit your content once and then distribute it to your website, your mobile app, your retailers, ... you get the point :)
Nevertheless, this is not a post about how and why to use a headless CMS over a traditional. This is to show you how you can implement Cockpit CMS for your own use case.
So let's jump right into it.
What needs to be done to implement Cockpit CMS on NGINX?
Cockpit CMS is written in PHP using a MongoDB or a SQLite for storing the data. This means we need to follow the following steps:
- Install NGINX
- Install PHP and dependencies
- Download and deploy Cockpit CMS
- Configure NGINX
- Configure Cockpit CMS
Install NGINX
To install NGINX on your Ubuntu use your apt to get it done. First update your repo and then instlall NGINX:
sudo apt-get update
sudo apt-get install nginx -y
The -y will easify the installation process as you will not have to verify the that you really want to install NGINX again.
NGINX is now installed and running. It is located at /etc/nginx. All logs can be found under /var/log/nginx and the typical html root folder is /var/www/html.
You can confirm this by checking its status:
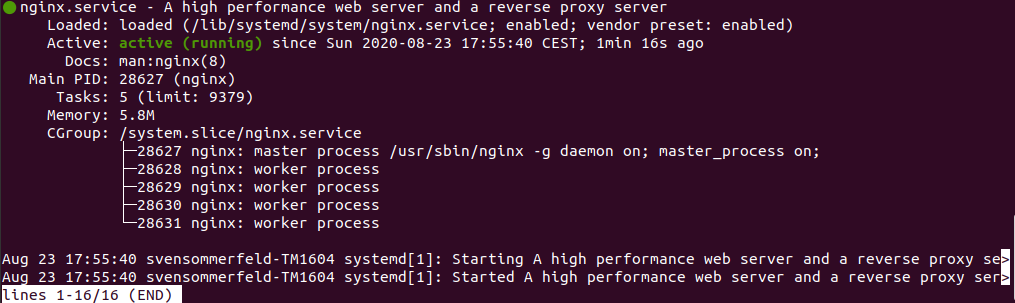
sudo service nginx status
You should see something like this:
Install PHP and dependencies
Next we need to install PHP and the necessary dependencies. For NGINX we need the FPM (FastCGI Process Manager) variant of PHP. It is recommended to use the ppa:ondrej/php PPA. Hence we first add the PPA, then we install PHP 7.4 and then we add the depenencies for Cockpit CMS: SQLite, GD, mbstring and zip.
sudo add-apt-repository ppa:ondrej/php
sudo apt-get update
sudo apt install php7.4 php7.4-fpm -y
sudo apt install php7.4-sqlite3 php7.4-gd php7.4-zip php7.4-mbstring -y
That is it. You can verify it with:
php --version
and you should see something like this:

Download and deploy Cockpit CMS
I typically do not install cockpit in the classical html root dir (/var/www/html) and rather in a seperate directory. In the next steps you will move to /var/www and then download Cockpit CMS. After that you will unzip it, rename the folder and give it the proper rights.
cd /var/www/
sudo wget https://github.com/agentejo/cockpit/archive/master.zip
sudo unzip master.zip
sudo mv /var/www/cockpit-master /var/www/cockpit
sudo chown -R www-data:www-data /var/www/cockpit/
Configure NGINX
Now it is time to configure our NGINX. In order to do that you will create a config file for cockpit, which will be called cockpit.localhost, and then deploy this config to NGINX.
First we need to create a file using your favorite text editor (mine is VIM).
sudo vim /etc/nginx/sites-available/cockpit.localhost
In this file now copy the following content:
server {
    listen 80;
    server_name localhost;
    root /var/www/cockpit;
    index index.php;

    location / {
      try_files $uri $uri/ /index.php$is_args$args;
    }

    access_log  /var/log/nginx/cockpit.access.log;
    error_log   /var/log/nginx/cockpit.error.log;

    # Deny direct access to .sqlite
    location ~ .sqlite$ {
        deny all;
    }

    location ~ \.php$ {
        fastcgi_split_path_info ^(.+\.php)(/.+)$;
        fastcgi_pass unix:/var/run/php/php7.4-fpm.sock;
        fastcgi_index index.php;
        include fastcgi_params;
        fastcgi_param SCRIPT_FILENAME $document_root$fastcgi_script_name;
        fastcgi_param COCKPIT_URL_REWRITE On;
        fastcgi_intercept_errors off;
        fastcgi_buffer_size 16k;
        fastcgi_buffers 4 16k;
    }

    location ~ /\.ht {
        deny all;
    }
}
Then we enable the config by linking it to the config directory and delete the default config:
sudo ln -s /etc/nginx/sites-available/cockpit.localhost /etc/nginx/sites-enabled/cockpit.localhost
sudo rm /etc/nginx/sites-available/default
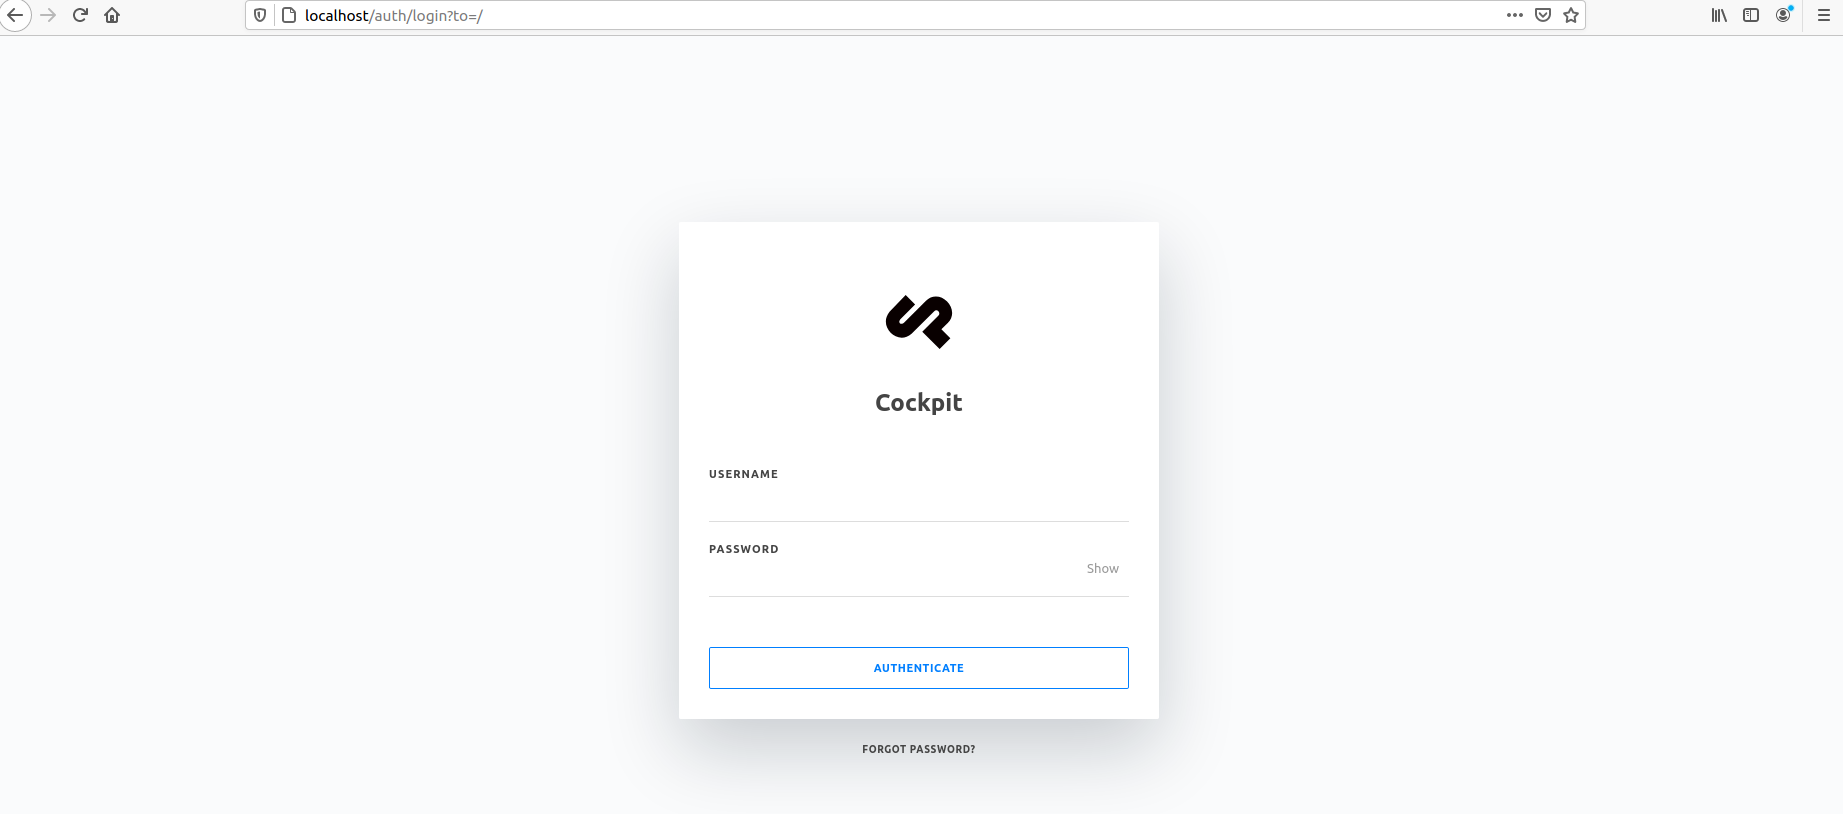
If you now open your browser and enter http://localhost/ into the search bar you will see the login screen of Cockpit CMS:
Configure Cockpit CMS
Navigate to http://localhost/install/ and you will see the following screen:
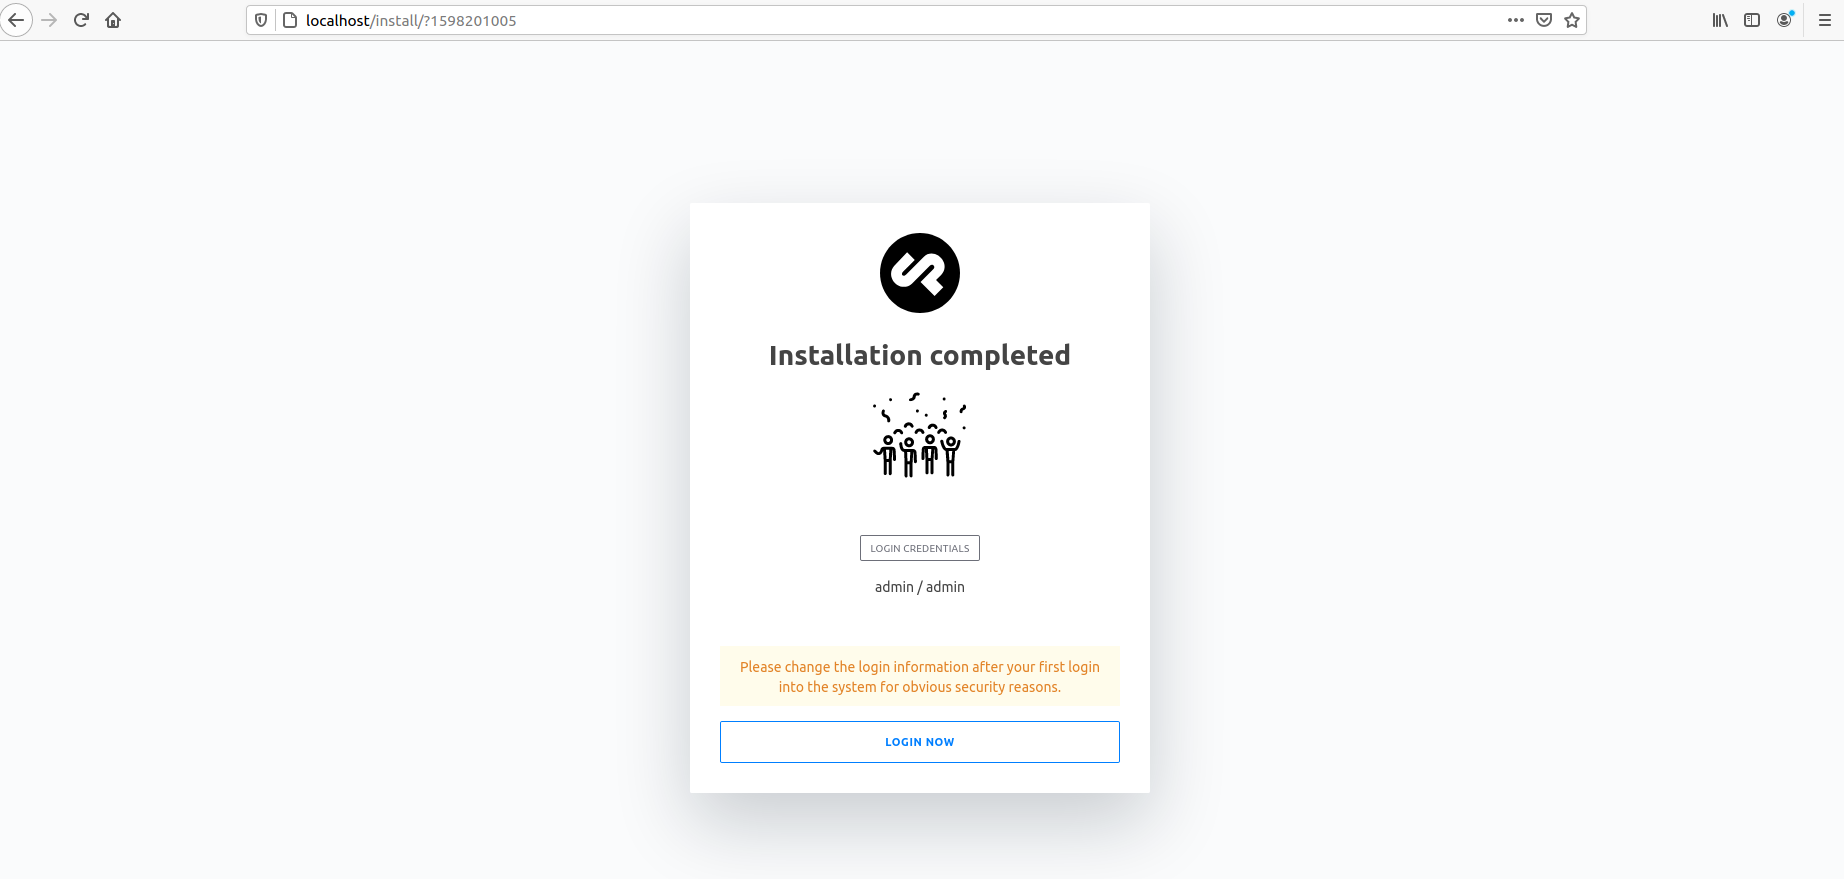
Now you can login with the admin credentials and enjoy Cockpit CMS.
Set up a SSL/TLS certificate (optional)
If you want to set up a SSL/TLS certificate, read the following guide: How to set up SSL certificates for your NGINX server.
I hope this was useful for you and I would be glad to getting feedback.